- b2evolution CMS User Manual
- Back-office Reference
- Collections
- Contents
- Post Edit Screen
- Item Images & Attachments Panel
Item Images & Attachments Panel
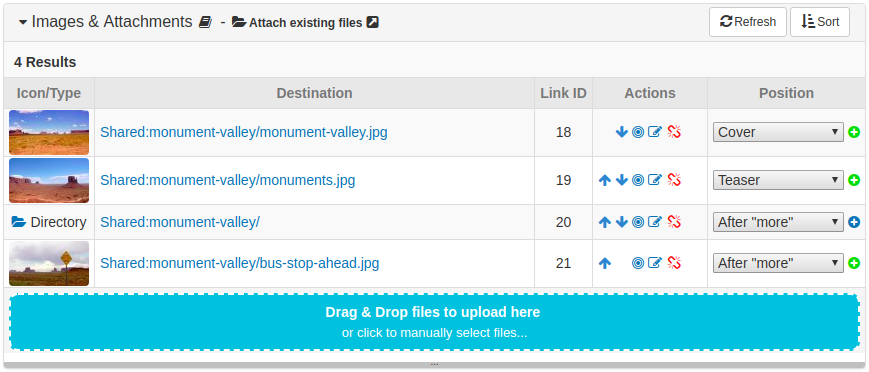
This panel lists the images and files attached to the current Item. You will be able to link and attach all kinds of files and manage how each linked file is displayed in this panel.
The list of attachment contains the following information for each link:
- Icon/Type: displays a thumbnail for an image file otherwise the filetype of the linked file.
- Destination: displays the path of the linked file.
- Link ID: displays the unique code assigned to the linked file. You can use this ID when embedding short tags in your content.
- Actions: display actions that may be performed on each link:
- Move up: moves the link up in the order of links.
- Move down: moves the link down in the order of links.
- Locate file: opens a pop-up window showing the current location of the file.
- Edit properties: opens a pop-up window where you can edit the properties of the file.
- Delete link: removes the file as an attachment to the current item. Does not delete the file.
- Delete file: deletes the file and effectively removes it as an attachment to the current item.
- Position: displays a dropdown to select the linked file’s position.
Adding/Linking Files
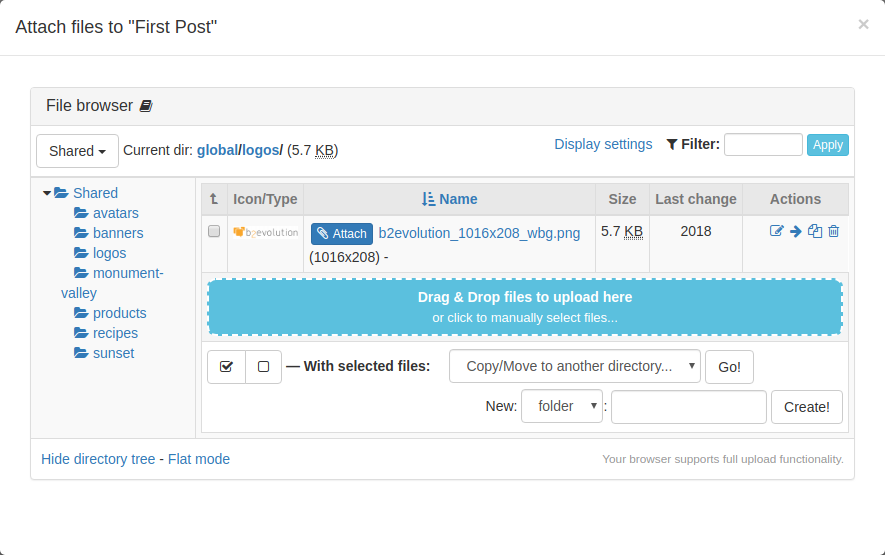
You can attach existing files to an item clicking on the Attach existing files link in the panel’s title bar. This will open a pop-up window where you can browse and select the file you would like to attach. You can also upload and attach new files in several ways:
- Dragging and dropping the file on the large button below the list of attachments, or
- Clicking on the aforementioned button to manually select the files using the browser’s file dialog.

Editing File Properties
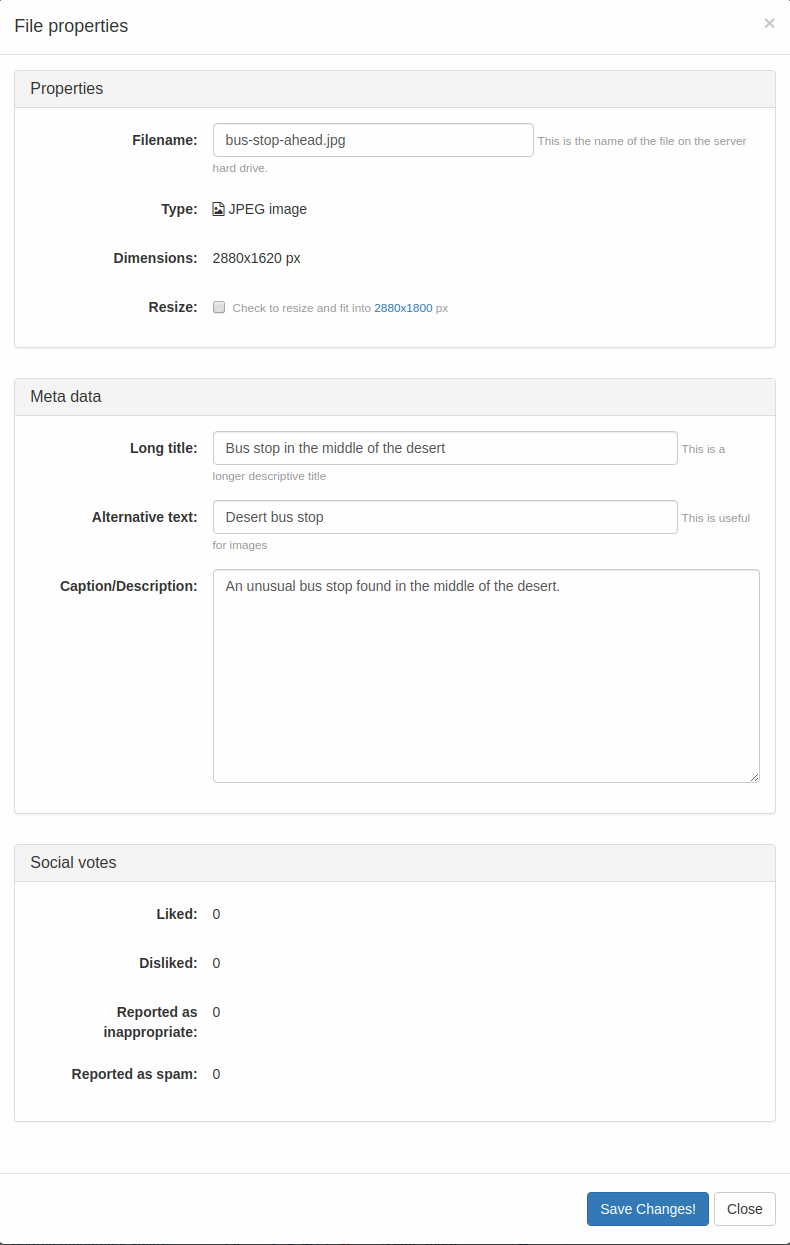
You can directly edit the properties of an attached file by clicking on the Edit Properties icon under the Actions column of the attachment list. This will open a pop-up window where you can change some of the properties of the file.

Link Position
Depending on the filetype, attachments will have the following default positions and displayed accordingly:
- The first image attached will be assigned to the "Teaser" position and will appear on top of the post. They will automatically be resized depending on the collection skin you are using. Subsequently linked images will be assigned to the "After more" position and will be displayed after the item content but before the list of attachments if any.
- All other file types will be assigned to the "Attachment" position and will be listed below the item as attachment links.
This behavior may be customized by changing the position of each attached file. You can read more about the other link positions below:
-
Standard attachment positions:
- Teaser
- Teaser-Permalink
- Teaser-Ext Link
- After "more"
- Inline
-
Special attachment position:
Why can’t I resize/manipulate my images directly in the content while I’m writing?
The image attachment system implemented by b2evolution is optimized for performance and usability. You shouldn’t worry about file sizes or image dimensions, it is all automatically adjusted. Using any of the attachment positions (Teaser, After "more" and Inline) will give you these features by default:
- File size reduction.
- Image dimensions optimized to fit your current skin.
- Automatic zoom screen when you click on the image (if the current skin supports this feature).
If you still want to add a regular <img> tag directly into your content, please read: How to Include External Photos or Images
Notes
- This system works best when JavaScript is enabled. It is possible to use it without JavaScript, but in this case, you will not be able to edit content and attach files simultaneously.
- You can edit several posts at the same time in different windows, however, keep in mind that the ‘Attach files’ popup will attach files to the post you opened it from. You can check the name of the opening post at the top of this window.


