- b2evolution CMS User Manual
- User's Guide
- Guided Tour
- Guided Tour - Front Office
Guided Tour - Front Office
In this page we will walk you through b2evolution’s Front Office as it should look right after your first installation (if you made a default installation). This is also more or less what you should see on the demo site, unless someone already changed it (it resets every hour).
Multiple Collections
If you installed b2evolution with all its demo contents, you now have several default Collections installed. Each collection contains a coherent set of data and/or features. For example, one collection can be a blog. Another can be a photo gallery. Another can be an online manual. Another can be a forum…
b2evolution has examples of each collection type. We’ll now go through them one by one. So, if you will, open another browser window or tab and point it to your b2evolution Base URL ($baseurl) in order to follow along…
Home Page (NEW in v6)
b2evolution v6 is configured by default to display a collection named "Home" and this collection is in turn configured to display a special Front Page that acts as a global site Home Page and looks like this:
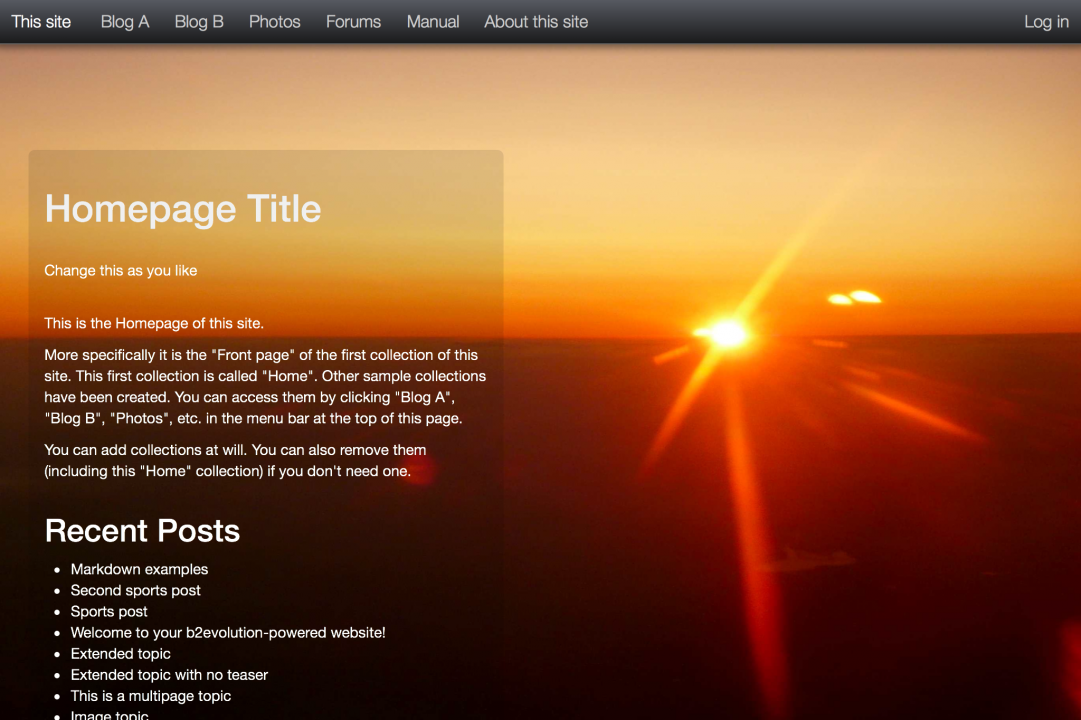
You will learn later how to customize the background image, the titles, the texts and even the features that appear on this page through a system of Widgets. You can also configure a different default collection, especially if you don’t want your site to have a Home Page such as this one.
Site Navigation
At the top of the Home Page, notice the site navigation bar:

This bar is part of the Site Skin which is enabled by default. This means that the navigation bar will be added on top of each and every page of each and every collection of your site.
The site skin also adds a common footer on all pages of all collections. By default, the footer looks like this:

The always-available navigation bar will be handy in this walk-through since it will let you quickly navigate between collections of your site. For now, you might actually think about your collections as "sections" of your website (they can be more than that, but don’t worry about it for now…)
Here’s a couple more details about what you’ll find on the navigation bar:
- The label "This Site" which is the short name of your website. Of course, you’ll change this later. Clicking on it will always bring you back to the Home Page / Base URL ($baseurl) of your site.
- After that you see the short name of every collection of your site that has been configured to be listed. By clicking on each of them, you can access the collection of the same name.
- "About this site" doesn’t actually represent a collection but a specific page of a collection (more on this later)
- "Log in" on the right hand side is a tool. You can guess what it does… (more on this later)
- There might also be a "Register" link but only if the option to let users register themselves is enabled.
So let’s click on "Blog A" and continue the tour…
Blog A
Blog A is an example of a Blog type collection:
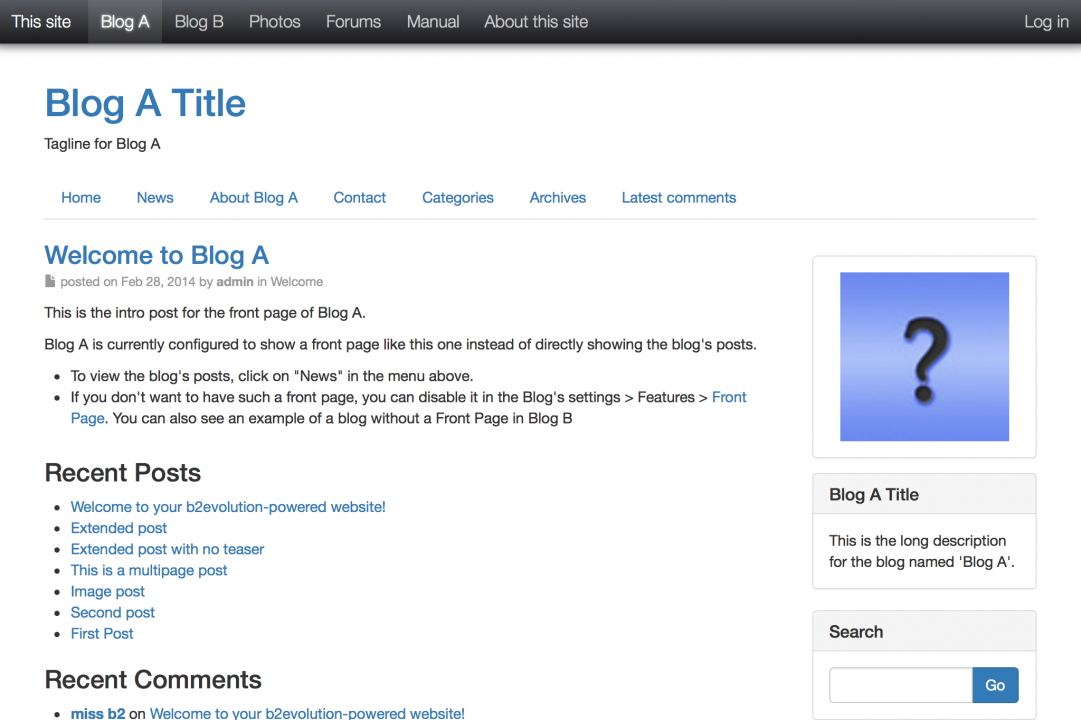
The look & feel of this blog is controlled by a Skin. In this example it is using the "Bootstrap Blog" skin which is based on the Bootstrap Framework. There are many other skins available.
The distinctive features of a blog skin used with a blog collection are (this is a generalization, nothing is set in stone):
- The Blog is made out of Posts which are generally displayed in reverse chronological order. The newest posts appear first.
- There is generally a sidebar (most often on the right, but configurable) which contains meta data while the main column shows the main content.
- A blog is often a personal space for a single author. That’s why you often see the author’s picture in the sidebar.
- Visitors of the blog can leave Comments below the posts they read.
The posts of a blog can be browsed in order but also by category, by tags, by author (if there are multiple authors) and more.
Blog A comes with some default contents which include many useful tips & tricks. You might want to take a minute to click around and explore…
Blog B
Blog B is essentially here to show you what a blog with a completely different skin might look like:
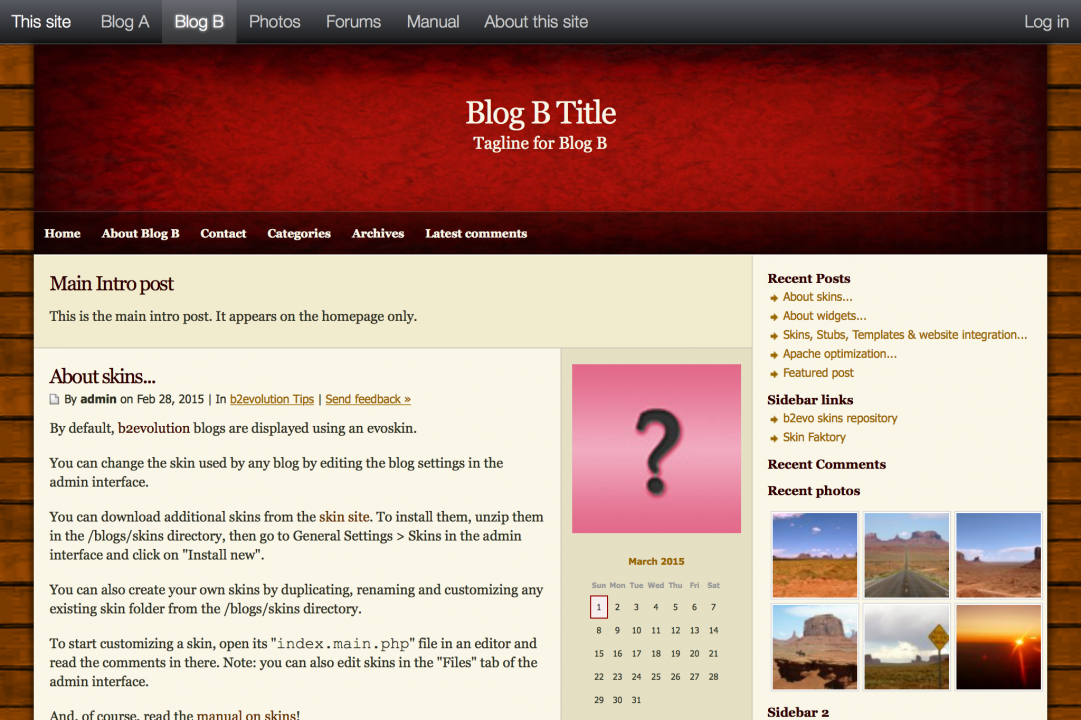
It also has different contents and in this case, a different Owner.
Photos
The Photos collection is a photoblog type collection using the "Photo Albums" skin by default:
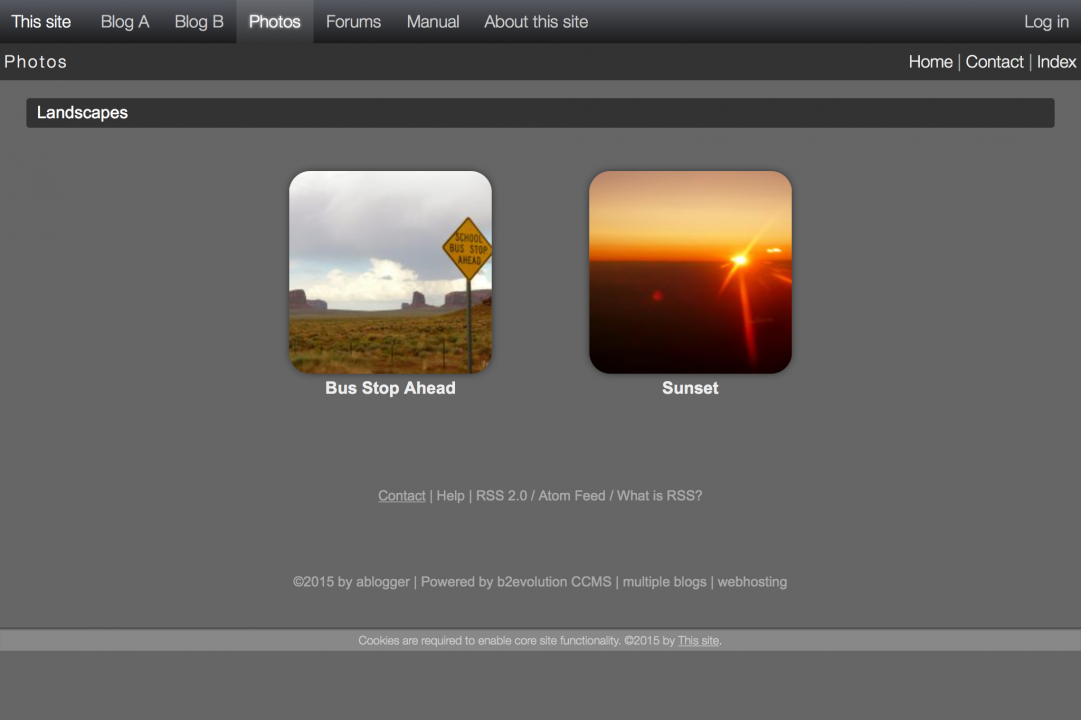
This collection and skin are optimized for showcasing photos. Photos can be grouped into albums which can in turn be grouped into categories.
There are 3 levels of navigation:
- The Front Page of this collection shows the photo albums grouped by categories. In the example there are 2 collections which are part of the category "Landscapes".
- If you click on the first collection, it will open a new page that shows all the photos in this collection.
- If you click on a photo, it will zoom in a Colorbox. You can navigate to the next/previous photo with the icons at the bottom. You can also use the keyboard keys: Left Arrow, Right Arrow and Escape to close. On touch devices, you can also swipe left and right to switch photos.
Forums
This is a Forum type collection used with the "Pure Forums" skin:
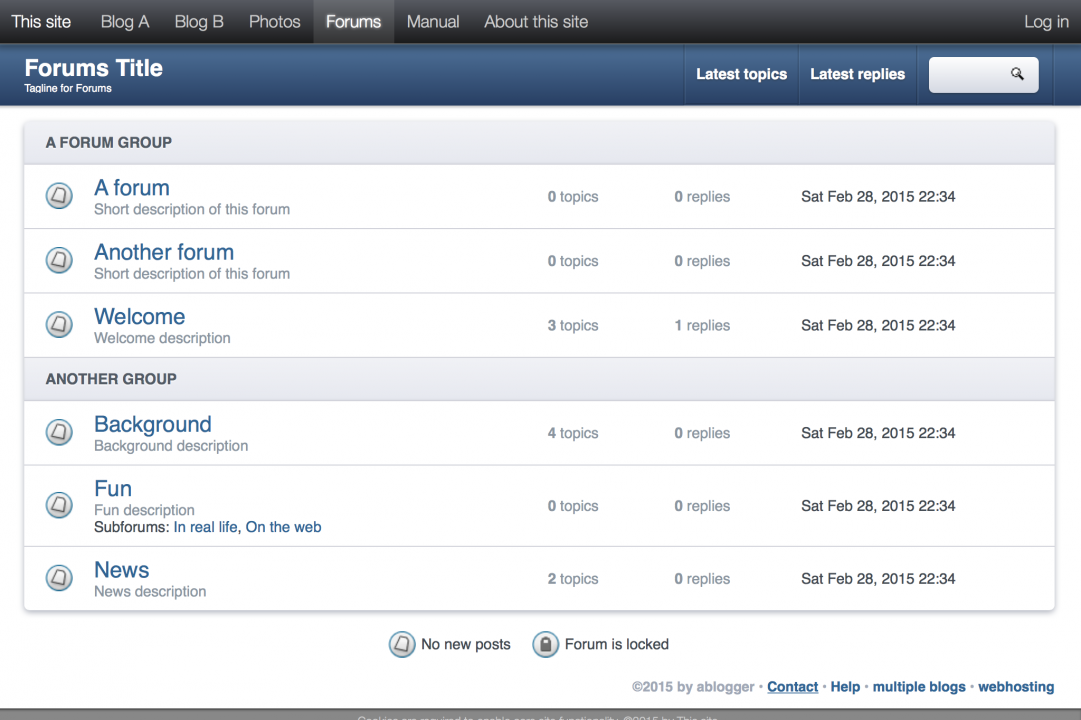
The distinctive features of a forum compared to a blog are:
- Instead of Posts posted by an author, it contains Topics posted by the Users of the forum.
- Instead of commenting of the posts, the other users can post Replies to the Topics.
- Instead of Categories, we have a hierarchy of forum groups, forums and possibly sub-forums.
- By default, users must be logged in before they can post or reply.
- The topics shown first are the ones who have been active most recently.
Manual
This is a collection of the Manual type used with the "Manual" skin. It shows an example of an online book or manual:
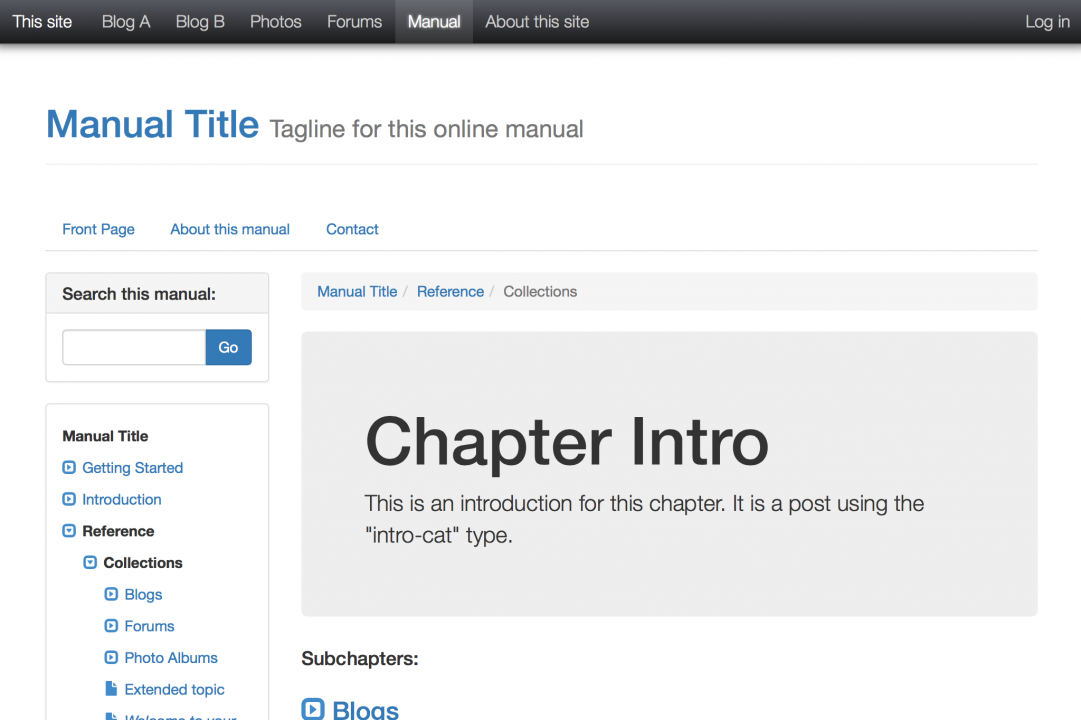
The distinctive features of a manual collection and skin are:
- The posts — or rather Manual Pages — are not shown by time but according to their position in the book/manual hierarchy.
- Instead of Categories and sub-categories, we talk about Chapters and sub-chapters.
About this site
When you click this item in the navigation menu, you do not actually access a full collection of its own. Instead, you access a single information page about your site:
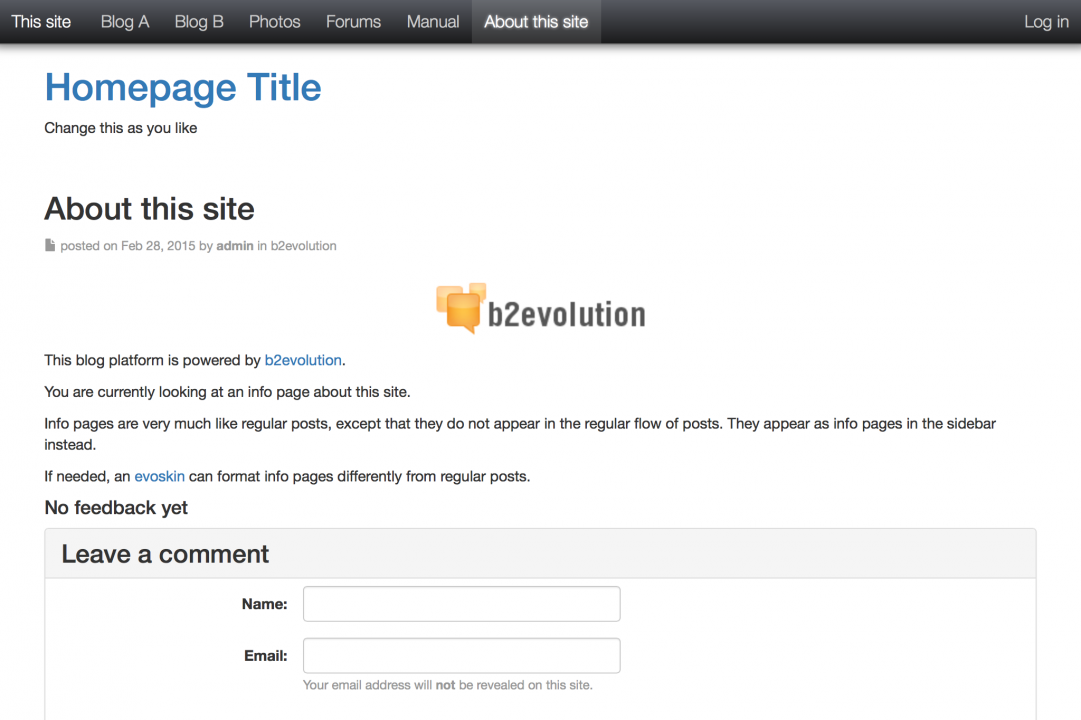
You could remove it but you could just as easily configure several such "direct-access" pages.
Technically, this is a Page of the "Home" collection – the same as the one that displays the Home Page. You will learn that the "Home" collection is actually used for several general-purpose features of the site.
Log in
When you click on the "Log in" link on the right of the site navigation bar, you access a login screen like this:
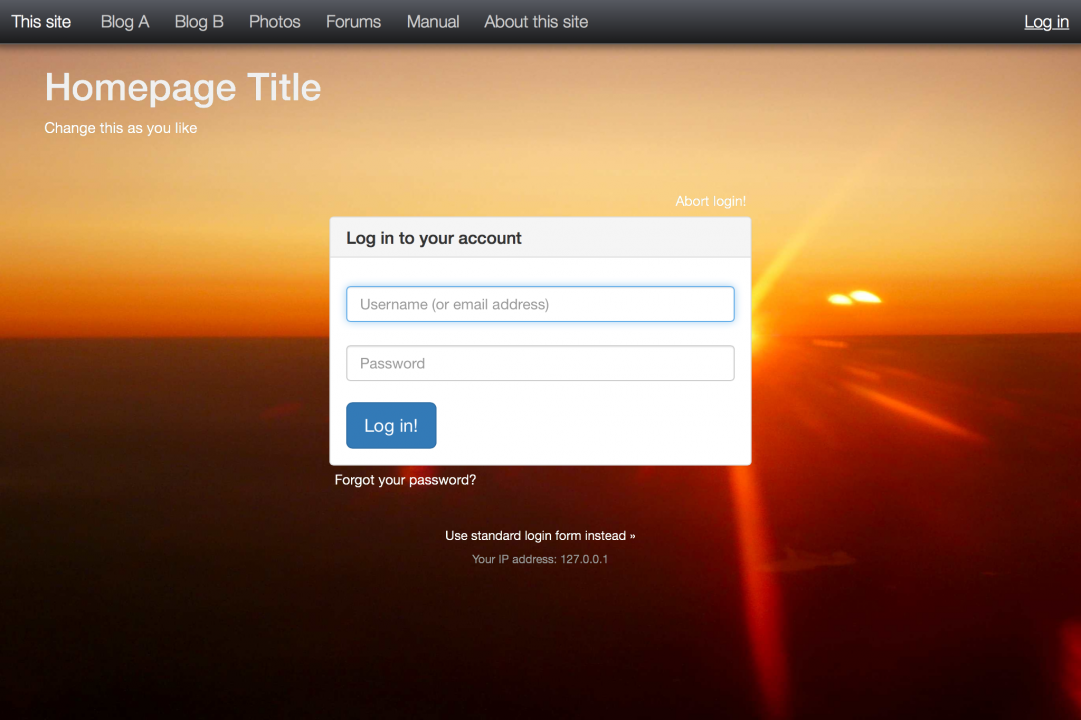
Note that depending on where you click on "Log in" you may actually get to a different version of the login screen. We’ll go into details of this later…
Users will enter their login and password here. They may have obtained them from you or they may have self registered an account (if you enable this feature).
For the purpose of this tour, you should enter the admin username and password that you received during the installation.
The evobar
Once you are logged in, you should see new functions on the right of the navigation bar:

As an administrator, you will also see an additional toolbar above the navigation. This is the evoBar:

We’ll get back to it later…
Your user page/profile
If you click on your username ("admin") in the navigation bar, you’ll see a page showing your user page:
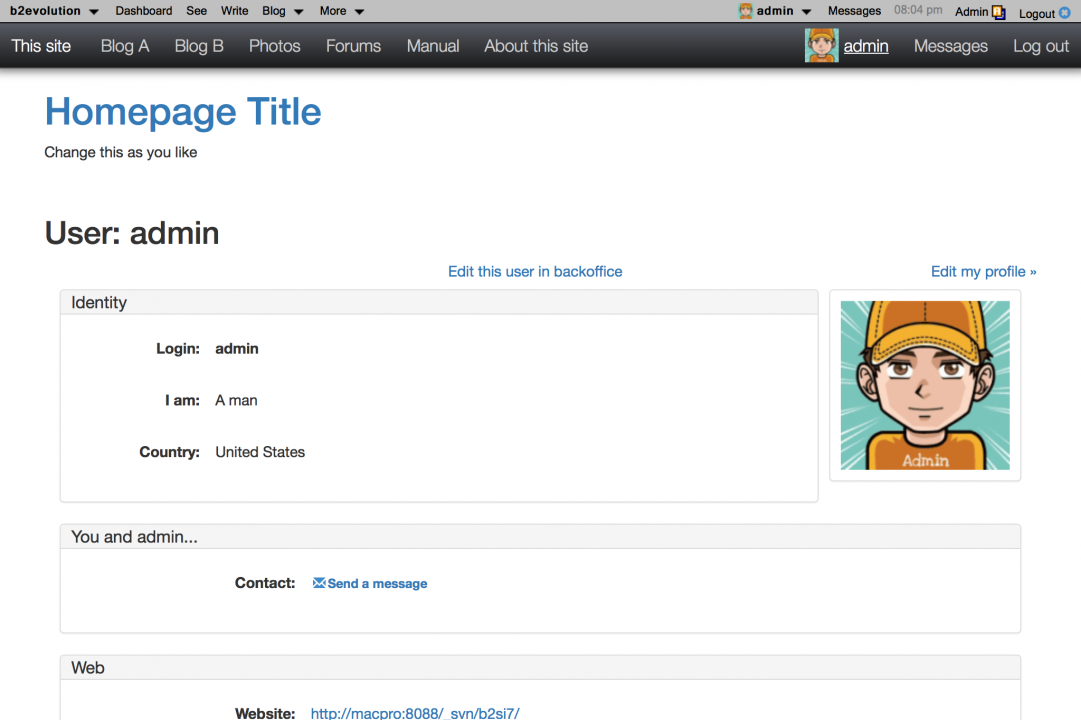
Every user on the system can have such a page showing more or less personal information they’d like to share. This page can be accessed from comments the users may leave as well as their forum contributions or the private messages they may send to each other.
The personal pages of your users may also be discovered through the user directory if you chose to enable it and make it either public or viewable by registered members…
When you look at your page you can see a link titled "Edit my profile". If you click it, you can edit your personal information as well as your profile picture.
Messages
The "Messages" link will take you to the messaging screen which shows the private conversations you may be having with other members of the site:
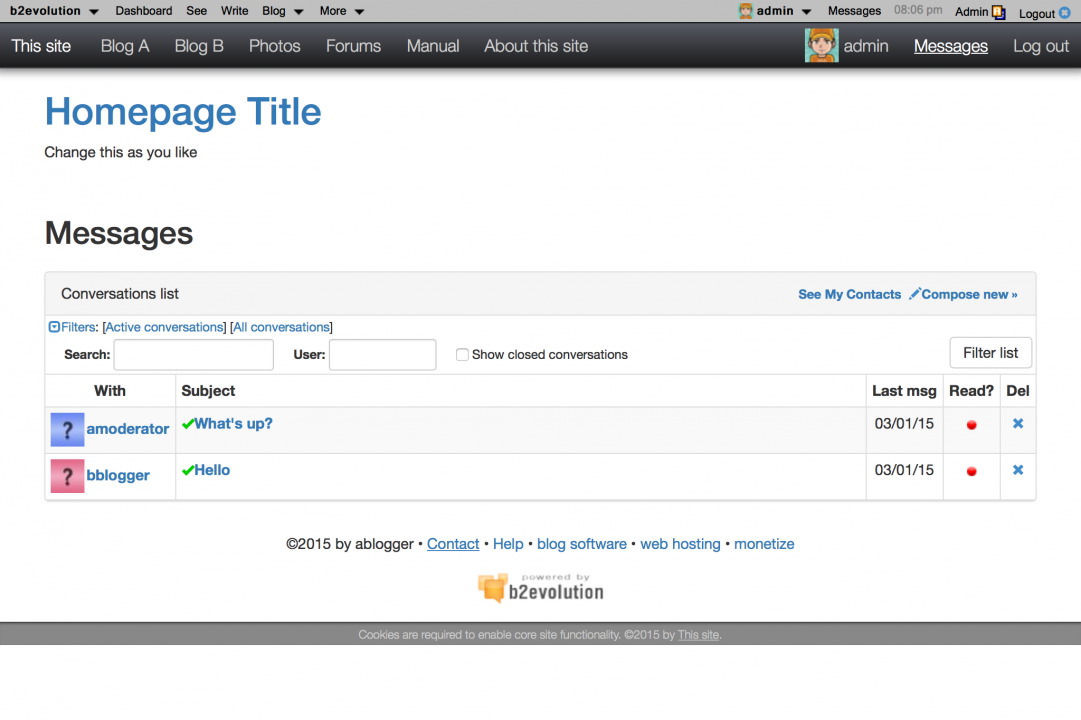
In this example there are two active conversations.
What’s next?
This concludes the guided tour of the Front-Office.
You might now want to follow the Back-office Tour.

