

Widgets are small applications that can be inserted into your blog. You can edit widgets in the BackOffice using the Blogs > [Blog Name] > Widgets tab.
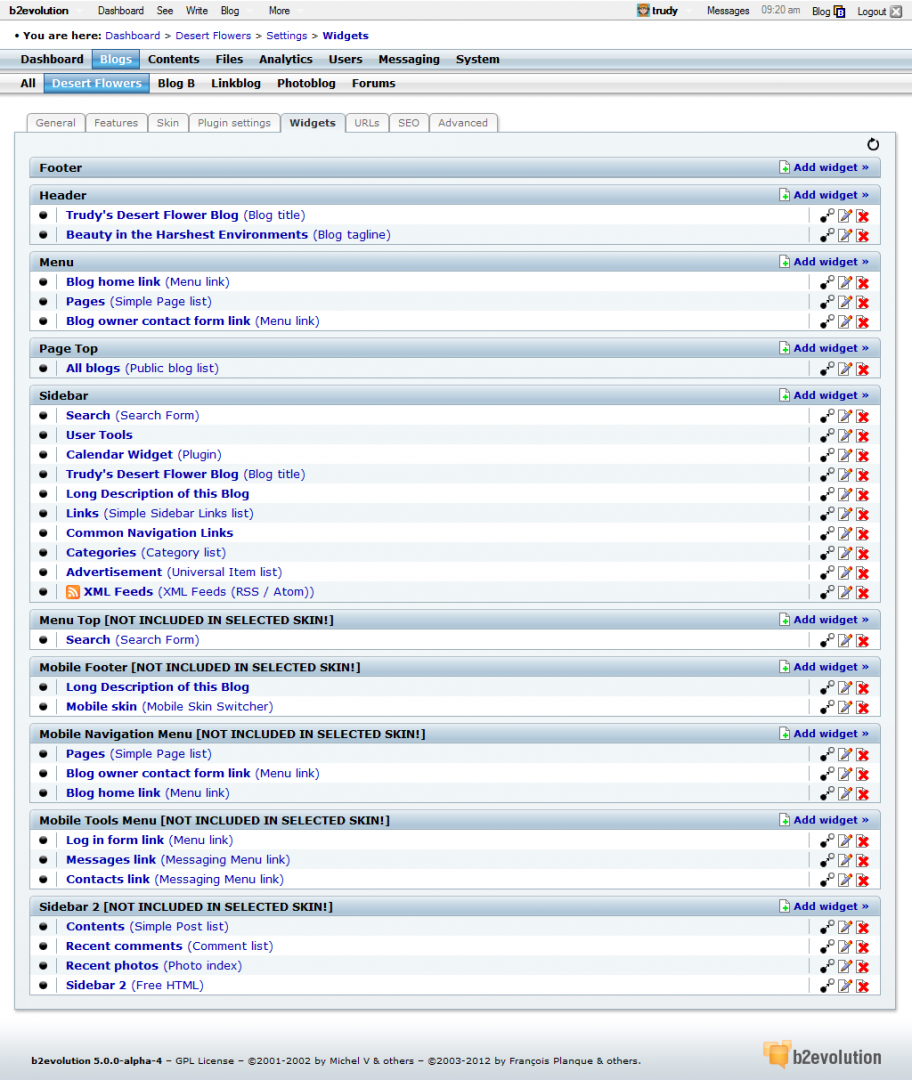
The widgets tab lists containers that represent different areas of your blog, such as the header, the footer, or the sidebar. You can add widgets to any container that your current skin supports. If your skin does not support a container, the container name will have "[NOT INCLUDED IN SELECTED SKIN!] " next to it.
Follow these steps to add a widget:
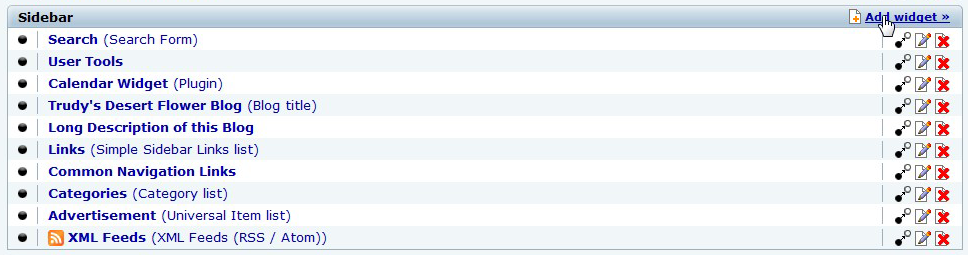
- Click on "Add widget."
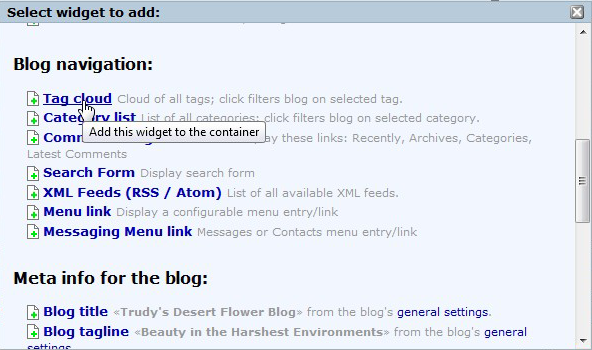
- A window opens listing all available widgets, click on the widget you wish to add to the container.
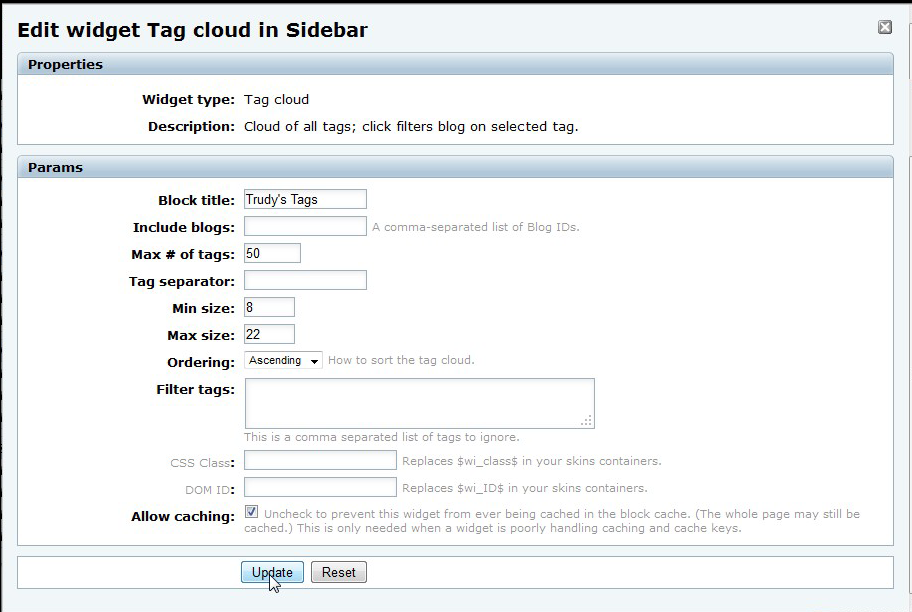
- After adding the new widget, another window opens allowing you to edit the widget’s parameters. Make any changes you would like and then click "Update."
The widgets listed in each container have icons next to the widget name. These icons have the following functions:


You can add your own HTML scripts by adding the "Free HTML" widget to a container.