

Comment from: eugene

It is generally a good idea to try this before using a more complex form of upgrading. However, it is always advised that you make a backup of your site beforehand.
The auto upgrade tool is found in the System > Maintenance > Auto Upgrade tab. The tool will notify you if there are updates available for your installation. It can also download and unpack the applicable upgrade package for you.
Once the upgrade package is available you can proceed with the upgrade process. The following sequence of actions will be carried out automatically:
upgrade_policy.conf will be applied.Rest assured: you will NOT lose the contents of your collections when you upgrade. See Faq Install Upgrade for additional information.

Go to System > Maintenance > Auto Upgrade and check if there are any available updates for your installation. Take note of the URL of the packaged file that will be downloaded.
Click on the "Continue" button to proceed to the next step.
You can also find already downloaded upgrade packages in this screen and use these to upgrade.
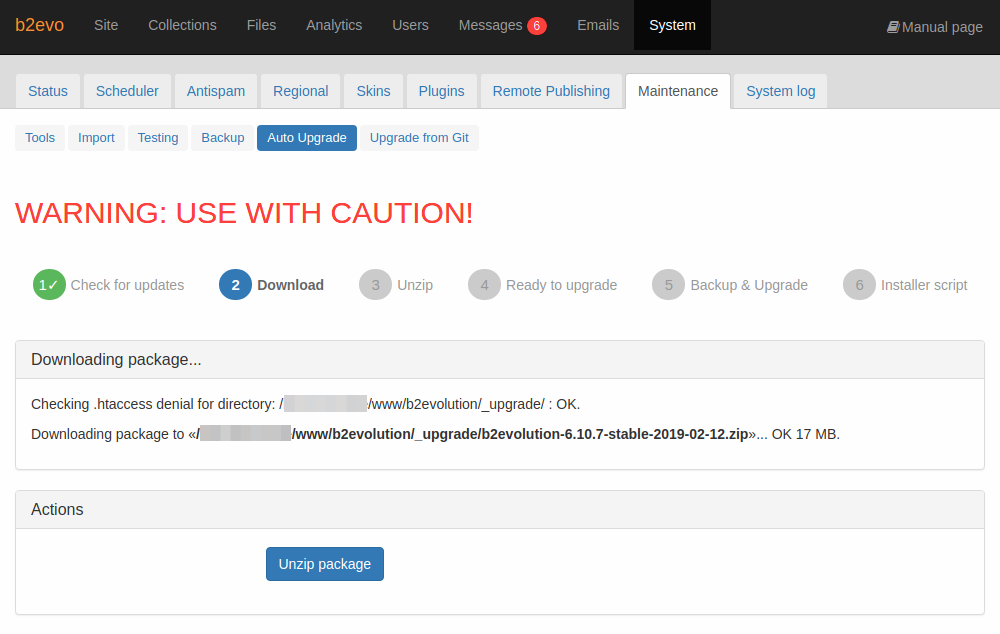
The application will download the upgrade package from the URL specified in the previous step. If the package is already downloaded, you have the option to skip this step.
Click on the "Unzip package" button to proceed to the next step.

The application will then unpack the downloaded package to the /_upgrade folder by default. You can change the location of the upgrade folder in the _advanced.php.
If unpacked upgrade files are found, you have the option to skip this step.
Click on the "Continue" button to proceed to the next step.
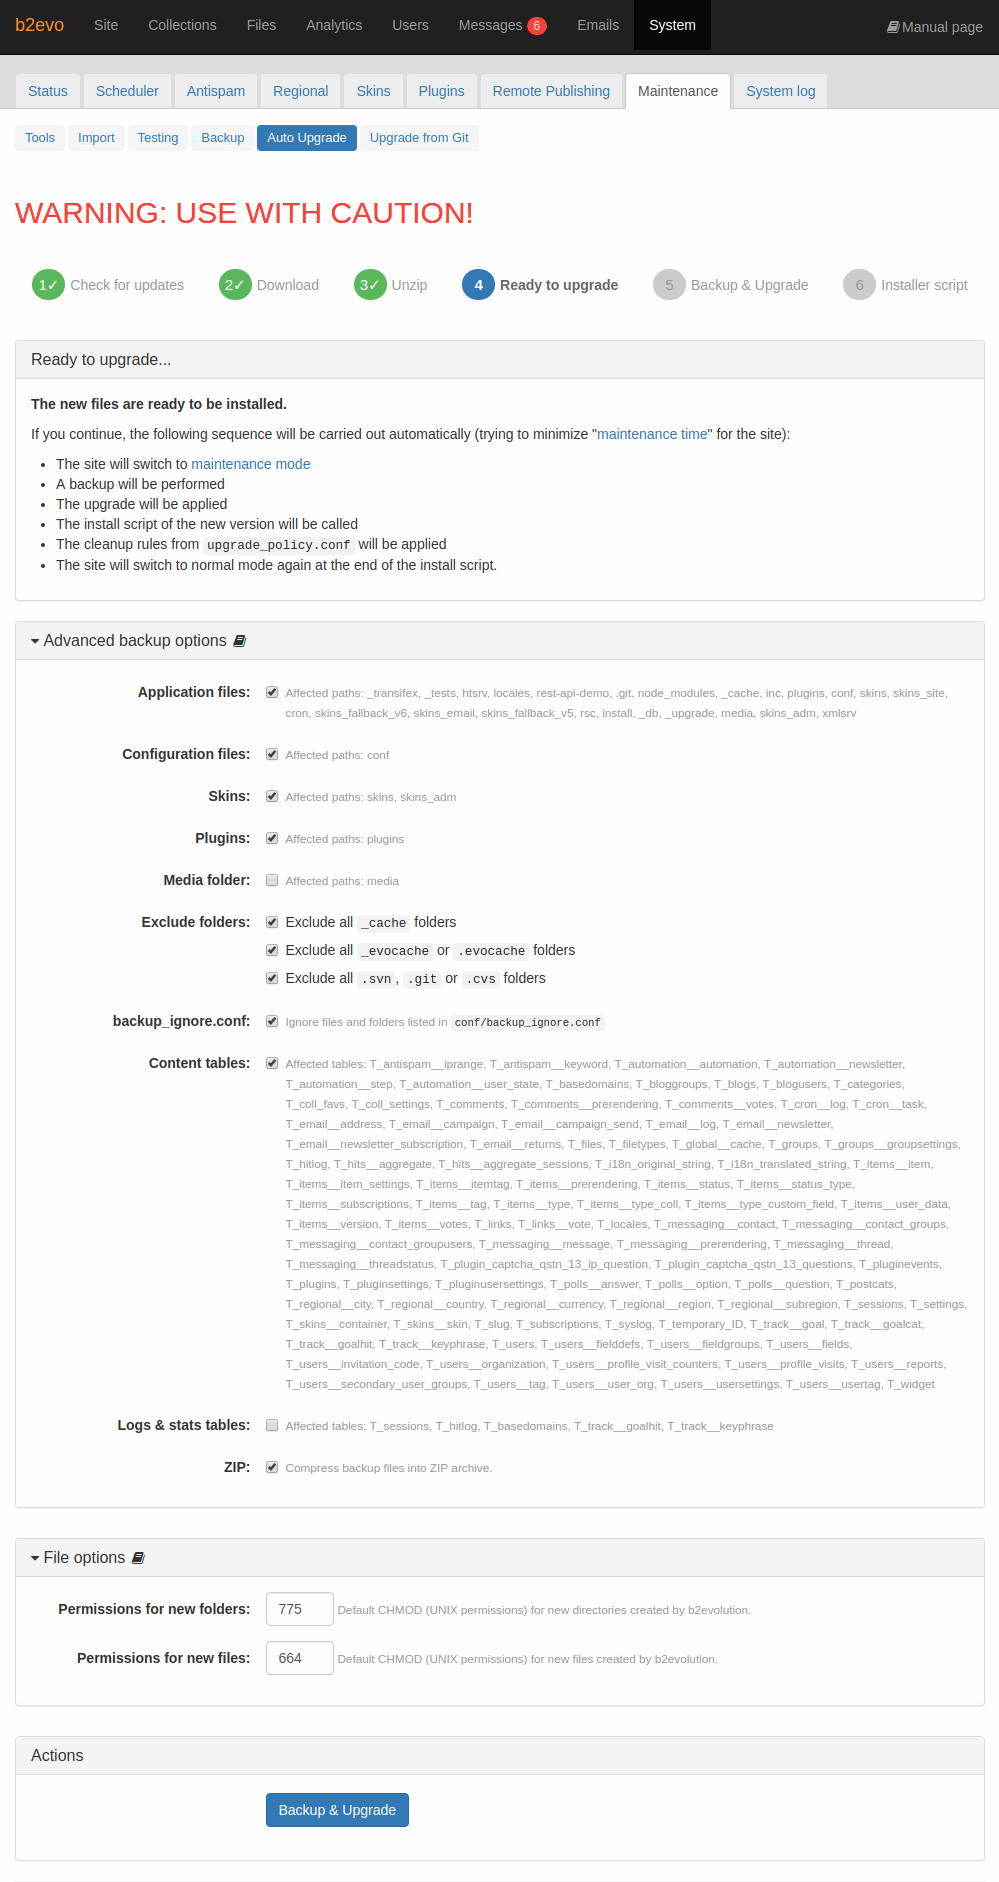
In this step you are presented with a panel of options to:
You can also change the file permissions of new files and directories created by upgrade process.
Once you have selected the data that you wish to backup, click on the "Backup & Upgrade" button to proceed to the next step.
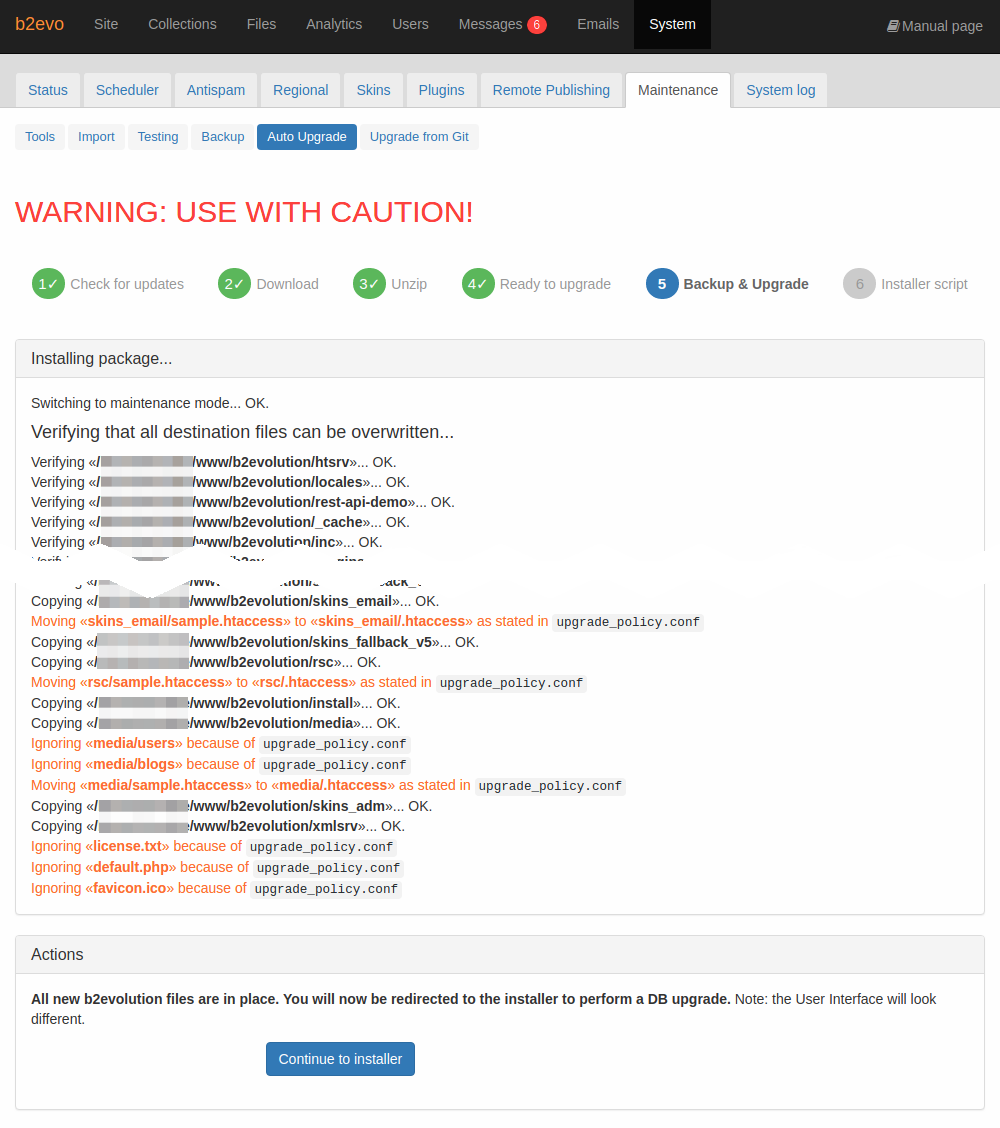
The application will now backup the data you have selected in the previous step. This step may take several minutes depending on the amount of data it needs to backup so please be patient.
Once backup is complete it will proceed to copying the new files and folders needed to upgrade based on the settings found in the upgrade_policy.conf file.
Click on the "Continue to installer" button to proceed to the next step.
This is the last step. You will be redirected to the installer screen to begin the upgrade of your installation.
Congratulations! You have now upgraded your b2evolution application! You may want to read After Installation / Upgrade for some things that you should be aware of once you have a working installation.
The "under maintenance" message is displayed because of a temporary _maintenance.html file that can be easily deleted… but this is not what you should do!!
Many times, the only reason this happens is because the upgrade script ran long and got interrupted by your web host. All you need is to restart it, as explained below.
If interrupted (either by timeout or by an error), the upgrade procedure left your site in a half upgraded state, so you should start by trying to finish the upgrade. In your browser go to your baseurl followed by /install/index.php?action=auto_upgrade and look very carefully for potential error messages on your screen in order to determine if you just got interrupted because it took too long to upgrade or if there is a more severe problem. Make screenshots for later reference and/or for support in the Forums.
If trying to finish the upgrade repeatedly fails with an error message and no progress between attempts, you will probably need to restore backups. Note that the auto-upgrade procedure starts with making File AND Database backups (see the _backup folder on your site) and won’t upgrade anything until the backups are complete. So everything should be fixable in a fairly easy way.
Check the UNIX file permissions for these files. The PHP process needs to have write access to these files in order to be able to upgrade them.
The default security configuration doesn’t allow that because of this config variable:
/**
 * Change to true if you want to be able to install arbitrary ZIP files on the server.
 * ATTENTION: this poses a security risk if the admin password is compromised.
 *
 * @global boolean $auto_upgrade_from_any_url
 */
$auto_upgrade_from_any_url = false;
If you want an input field to freely enter an URL to upgrade from, set this variable to true. Do this in _local.php if you don’t want the variable to be overwritten by the next upgrade.
How do you get to System as required in step 1 ?