

Comment from: johnnicza

If your computer is running on Windows, one easy solution to turn it into a local webserver is to install XAMP. XAMPP is an all-in-one web server solution that includes Apache, MySQL (or MariaDB), and PHP, all of which are needed to run a local test environment of b2evolution.
The following instructions provide a step-by-step description of how-to install XAMPP on Windows 10. There is also a section for configuring your XAMPP installation and preparations for installing b2evolution on your XAMPP server.
Visit the XAMPP downloads page. Under XAMPP for Windows select the version you require and download the executable installer. Once the installation file has been downloaded, double-click the file to begin the installation.
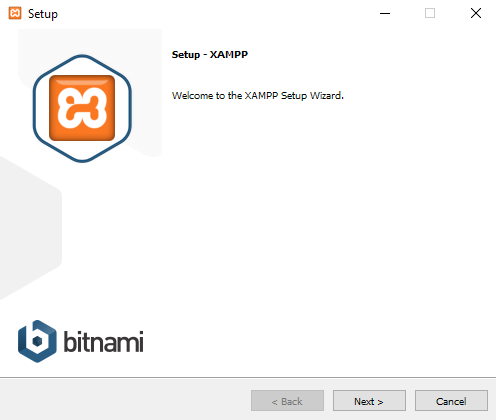
The dialog for the setup wizard is presented. Proceed by clicking on the Next button.
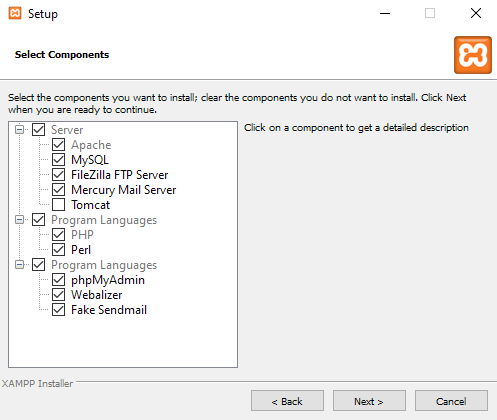
Select the modules/components that you want to install but make sure to include Apache, MySQL, and PHP.
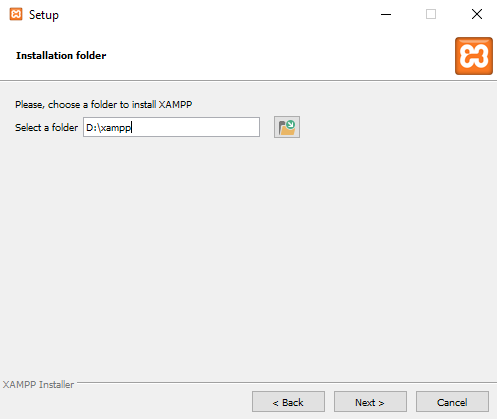
Specify the location where you want to install XAMPP, in our example, the application will be installed in D:\xampp.
Select your preferred language and click Next.

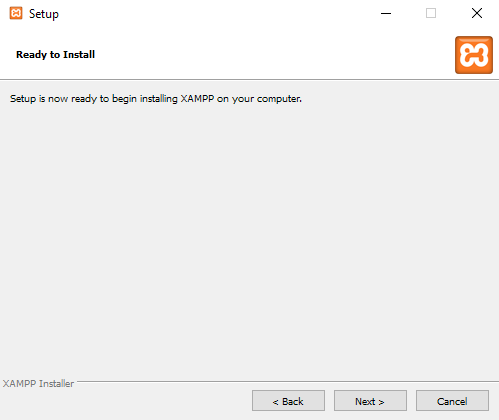
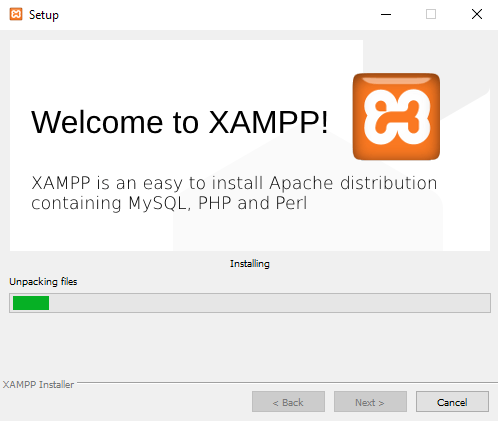
You are now ready to begin the actual XAMPP installation. Click on the Next button to proceed with the installation.
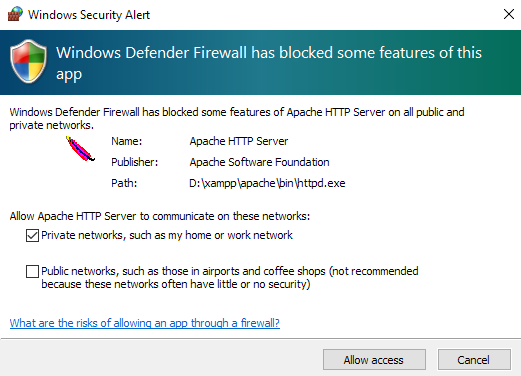
You may be prompted to allow the Apache HTTP Server through the firewall. For test purposes, you can choose to only allow the server to communicate in private networks. If you will be using this installation to serve your b2evolution application to the Internet, you may need to allow the HTTP server to communicate in public networks.
You have now completed the installation of the web and database servers required by b2evolution. Click on the Finish button.

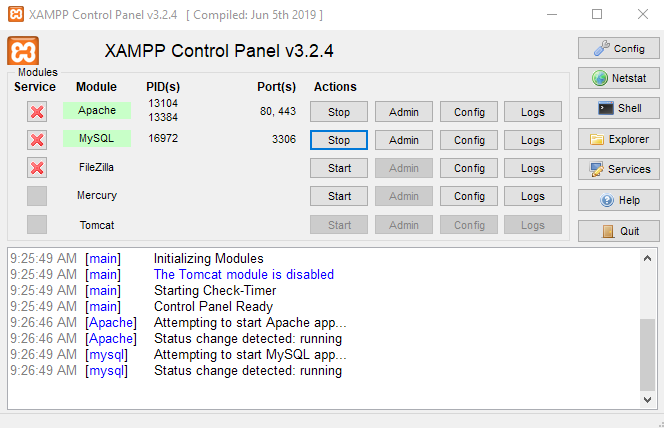
You may want to configure your XAMPP installation to automatically startup or make the components run as services. You can do this by launching the XAMPP Control Panel.
In the control panel, you are shown the modules/components that are currently installed and their status.
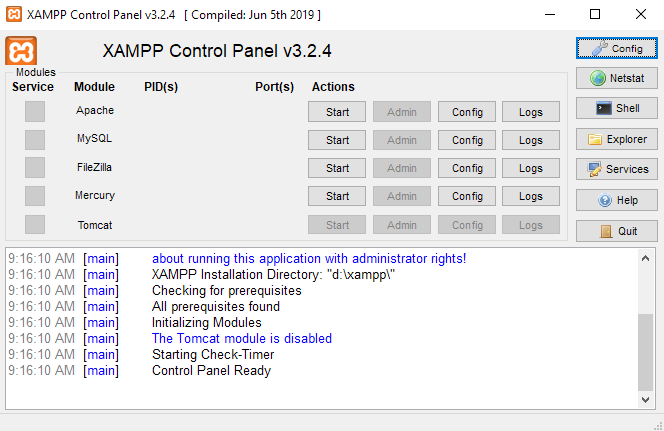
Click on the Config button to edit the configuration of the XAMPP control panel.

After editing and saving the configuration, start the Apache and MySQL modules and check if they are running. The control panel should update to indicate the modules that are currently running and the ports that each module is using. Take note of this information as you will be using them later when installing b2evolution.
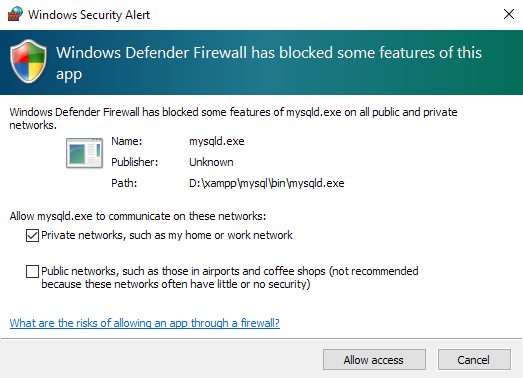
When starting the database server for the first time you might be prompted this time to allow the database server through the firewall.
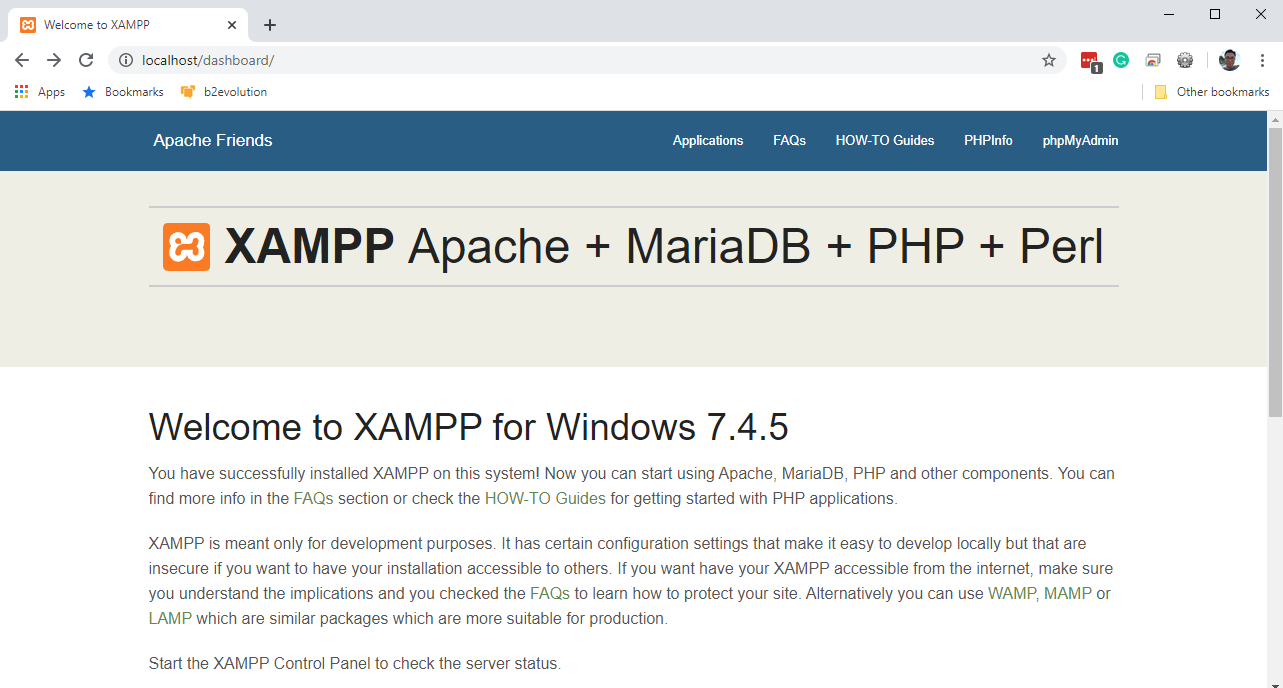
Once you have the web and database servers up and running let’s test them by launching a web browser and navigating to: http://localhost. You should be redirected to the XAMPP dashboard and get a similar page shown in the screenshot below:
Your database server may already be running but you will need to secure it by changing the root password. You can do this by following the instructions found in the How-To Guides found in the XAMPP dashboard.

To install b2evolution on your new web server, first, download the b2evolution application from https://b2evolution.net/downloads/.
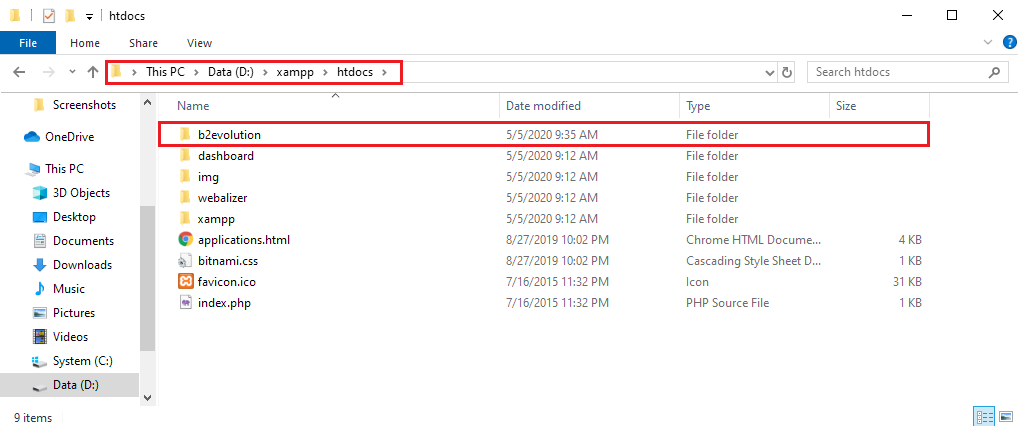
Once you have downloaded the ZIP file, extract the contents of the archive (a b2evolution folder) into the XAMPP htdocs folder. This is usually found in the [XAMPP install location]/htdocs. In this example, the htdocs folder is D:\xampp\htdocs.
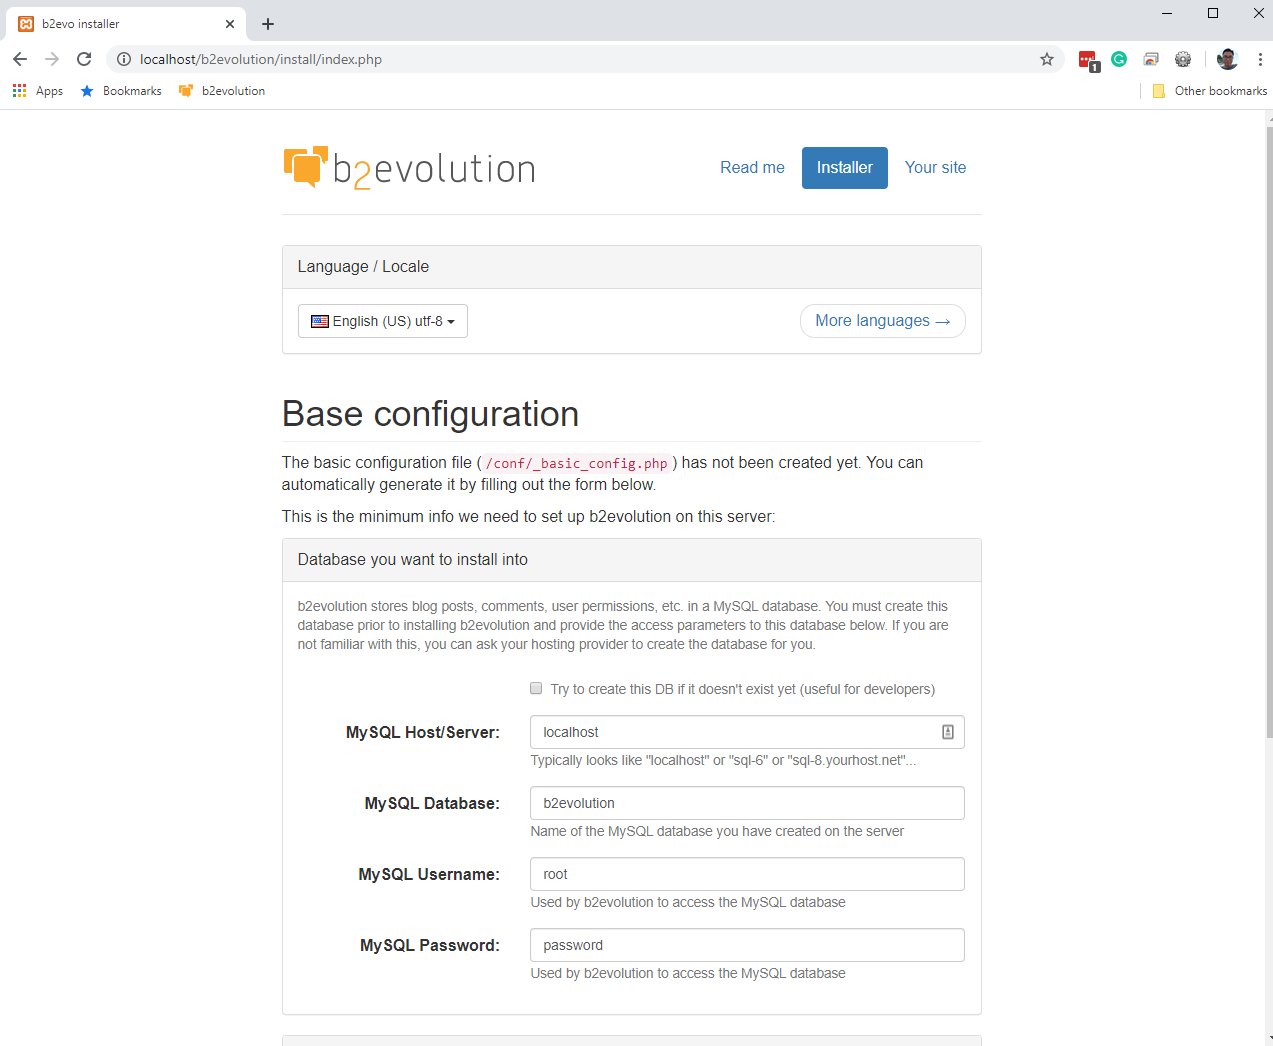
Open the b2evolution installer by navigating your web browser to http://localhost/b2evolution/install/. You should be presented with a page similar to the one in the screenshot below:
Read the regular b2evolution installation procedure for a more detailed guide to installing b2evolution on your computer.

I reckon this man page does not tell you enough but I’m not running Windows so I can’t test this.
However, once you have installed XAMPP, there should be an app that you can launch. In that app you should be able to find some info about what windows folder you must use. There may even be a button to open that folder directly in the file explorer.
You need to unzip b2evolution into this folder. I recommend not trying to use another folder.
I have downloaded and installed xampp apache server which is running. I have downloaded and unpacked b2evolution in another folder. I have searched through the FAQs, manual, docs etc. for exactly what to do next. How do I configure my Windows system to get b2evolution actually up and running on my localhost server? The manual skips straight to using a web server.
Please give me the detailed instructions.