- b2evolution CMS User Manual
- Archives
- Documentation Effort
- Guidelines for Writing Manual Pages
Guidelines for Writing Manual Pages
Be descriptive and neutral
Some writers have a tendency to write in very complacent terms making the manual sound like we are patting ourselves in the back.
Please try to be just factual and helpful.
For example: do not emphasize that we have clever, smart or efficient solutions to problem x or y. Just describe the solutions as they are.
Do not even say that something is easy or not complicated. Just describe the actions as they are. You may say that it requires only x clicks or only x steps/minutes to do something, but don’t be the judge of if it’s easy or the best solution.
Be concise
Please try to be concise. There is no minimum number of words to make a good manual page. Sometimes a single screenshot is enough. Please focus on getting the message through with maximum efficiency.
When users have a problem, they look for an answer and they want to read as little as possible before they get their answer. Of course some people need more details than others, so there’s some arbitrage to be done here. But don’t be wordy for the sake of it.
Formatting
No HTML
This manual does not allow HTML tags. Any HTML code will be displayed as is.
Creating Links
Despite not having HTML, there are several ways to create links.
If you type in URLs, they will automatically be linked like this for example:
http://b2evolution.net/man/introduction/overview/blog-anatomy
If you are giving example, put them in a "codespan" so they don’t transform into a link. They will appear like this:
http://b2evolution.net/man/introduction/overview/blog-anatomy.
You can also create nicer looking links, thanks to the WikiLinks plugin. Refer to this page for syntax instructions.
Examples: Blog Anatomy and This is a link to the Blog Anatomy page with a custom title
Note that in some cases, a manual page may have multiple slugs. Use any of them will point to the same page:
Most of the time, the ((…))) syntax will be more convenient. However, if you want to automatically use the full title of the destination page, make sure to use the [[…]] syntax, rather than the ((…)) syntax.
Creating headings
Please use the syntax of the Wacko Formatting Plugin in order to create h2 to h6 headings for your pages.
Additional formatting
For additional formatting, like bold text, italics or lists, please use the BB Code Plugin toolbar and syntax.
Inserting code snippets
For inserting code snippets, please use the Code Highlight Plugin syntax.
Screenshots
Screenshots are literally worth a thousand words. Please screenshot as much as possible and circle up things, number them and refer to them in the text.
Taking a screenshot
When making a global screenshot of a screen, do Not include the browser window elements. Do not include the Evobar at the top (unless the page explains something about the Evobar). Also do not include the footer with version number unless explaining differences between versions (which should be extremely rare).
When making screenshots of the BackOffice, include the "you are here:" line as often as possible, at least once per manual page in the BackOffice reference.
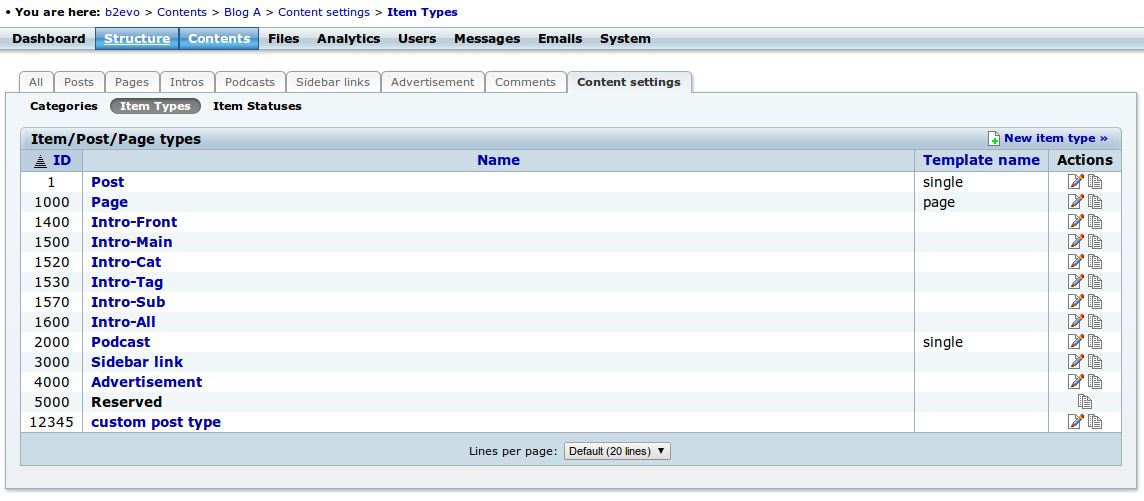
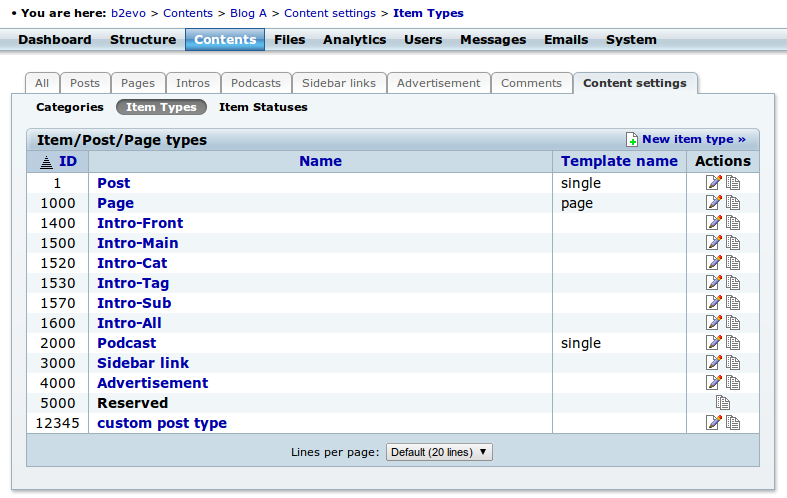
When making screenshots, do not make your browser windows full width if it doesn’t need to. Many screens will look fine in 1000 or 1200 pixels width. No need to stretch them to 1600. They will look better with a narrower window and will be more readable once inserted into the manual. See an example of god and bad screenshots:
Wrong screenshot. Too stretched


If you have a retina or hi-DPI display, please use it to make high pixel density screenshots.
Editing the screenshots
Please do not write text on the screenshots, it makes it very difficult to edit in case something is inaccurate. Please place numbers and arrows on the screenshots instead and refer to the numbers in the text of the manual page.
Saving the files
Please remember all screenshots should be PNG image files and there is no need to resize them since our CMS will automatically take care of sizing them based on the device the user is using for reading. Also, in a potential future print version we want as many pixels as possible. So don’t shrink the screenshots (don’t enlarge them either – unless you’re explaining a trick about aligning pixels in CSS? which should be extremely rare in this manual.)
Uploading
When you upload a screenshot, please upload it into a folder having the same name as the manual page it belongs to. Please try to replicate the folder structure of the manual chapters in the file root.
Once a screenshot is uploaded, attach it to the manual page/post with the link icon.
Including screenshots into the manual pages
If you want to insert your image at a specific position of your post (except for the first screenshot of your page, most of the time, you should), position the cursor in the text, then click the green (+) icon. A "tag" like this one will be inserted in your post:
[image:123:caption]- 123 is the link ID of your image. Don’t change it.
- "caption" is a caption text that will appear under the image. You can freely edit that.
Do not use the feature that inserts an <img> tag at the desired position of your text. This manual does not allow HTML tags. Any HTML will be displayed as is.

